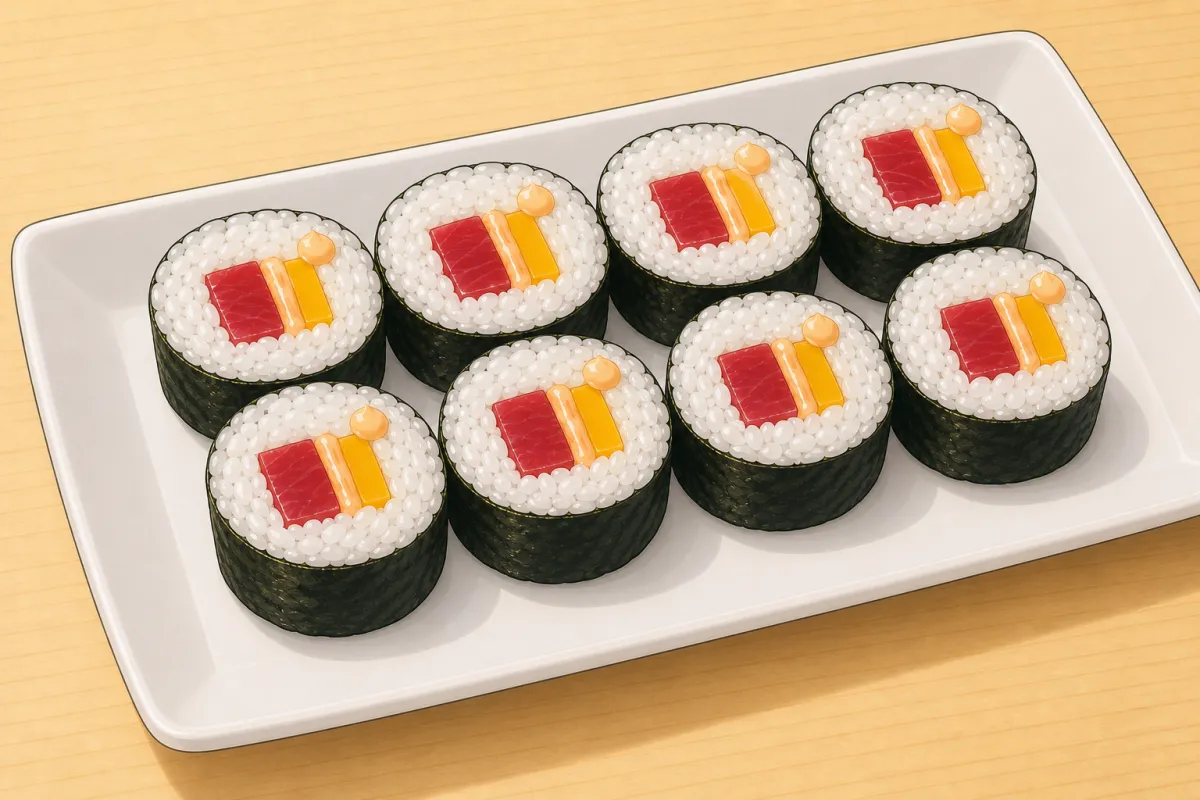
Tuna & mango roll with spicy mayo
A regular roll: nori on the outside, rice inside it, and in the middle long strips of tuna laid end to end with long slices of mango — nothing cubed or minced. It's rolled the way Just One Cookbook rolls her maki, but on a whole sheet of nori so there's room for both fillings and a line of her spicy mayo. Start with sushi rice at room temperature.
Mise en place — set out in the order it goes in
 Spicy mayo
- mayo
- sriracha
- lime, in a piping bag
 Tunalong 1 cm stripsStep 6
 Mangolong slicesStep 6
 Noriwhole sheetsStep 4
 Sushi rice160 g per rollStep 5
 Tezuwater · rice vinegarStep 5
Prep order — what happens when, and what overlaps
Keep the tuna in the fridge until you roll, and the rice under a damp towel.
Step by step
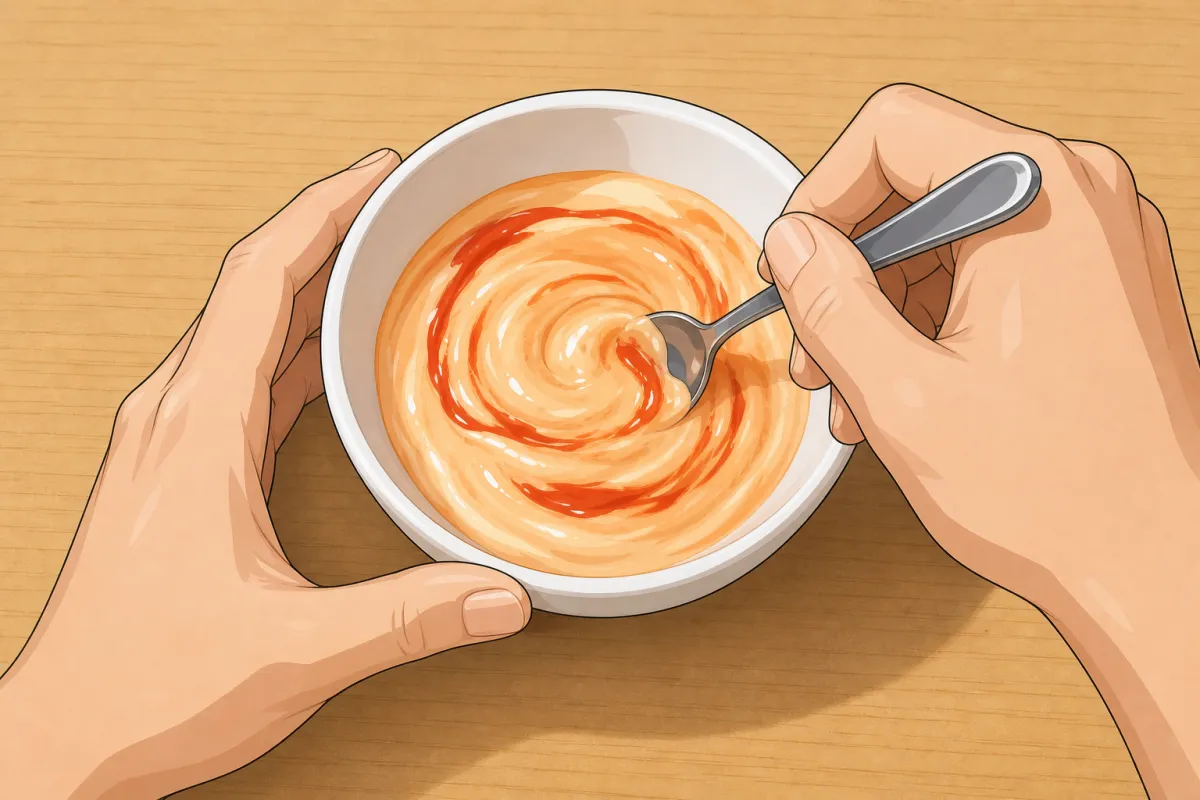
Stir the mayo, sriracha and lime together. 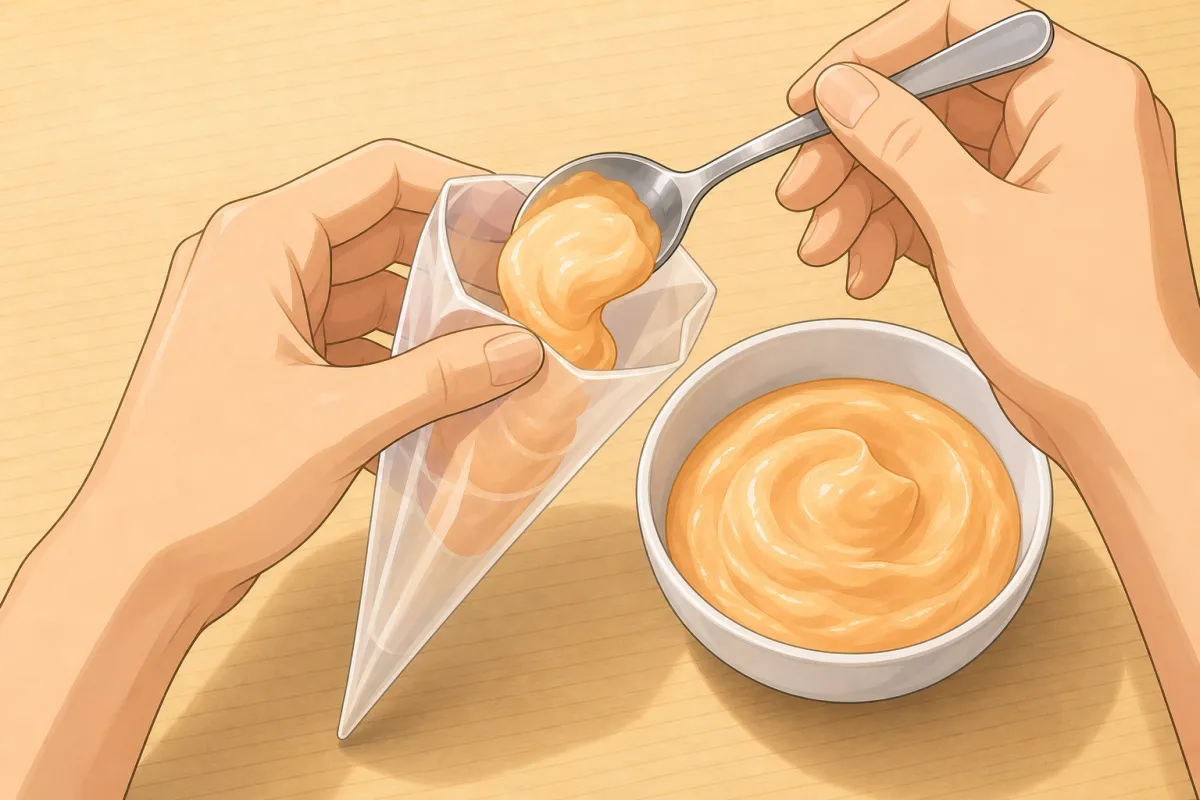
Spoon it into a small piping bag. 1Spicy mayo
2 min- Stir together:
- japanese mayonnaise (kewpie) 60 ml (¼ cup)
- sriracha 1 tbsp
- lime juice a splash
- Spoon it into a small piping bag (or a zip bag with a tiny corner cut off) — it pipes a thin line inside the roll and a dot on top.
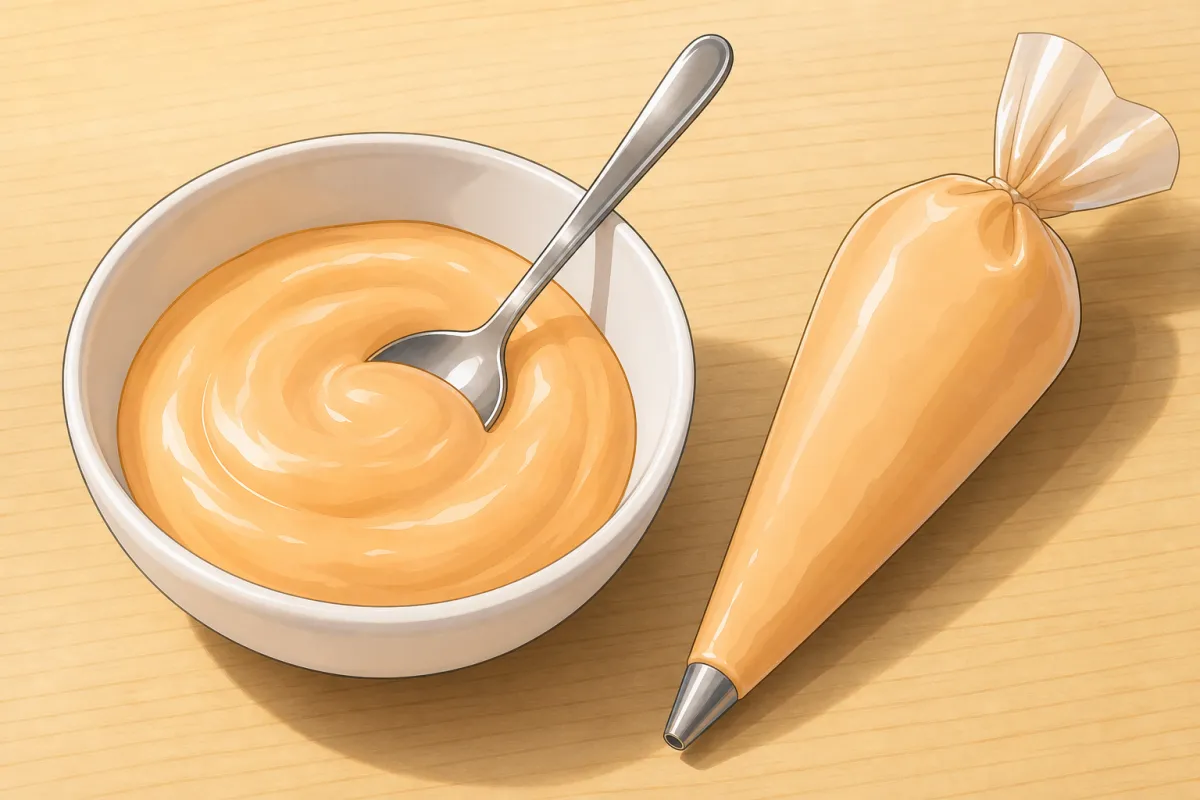
Should look like this - Stir together:

Cut the block into slabs about 1 cm thick. 
Cut each slab into long 1 cm strips — one long pull of the knife from heel to tip, no sawing. 2Tuna into long strips
~5 minFor this step
- Sashimi-grade tuna150 g
- Cut the block into slabs about 1 cm thick, then each slab into strips 1 cm wide — as long as the block allows.
- Each cut is one long pull of the knife from heel to tip; don't saw.
- You need enough strips to lie end to end across the nori (about 20 cm per roll).

Should look like this 
Peel the mango and cut the two cheeks off the stone. 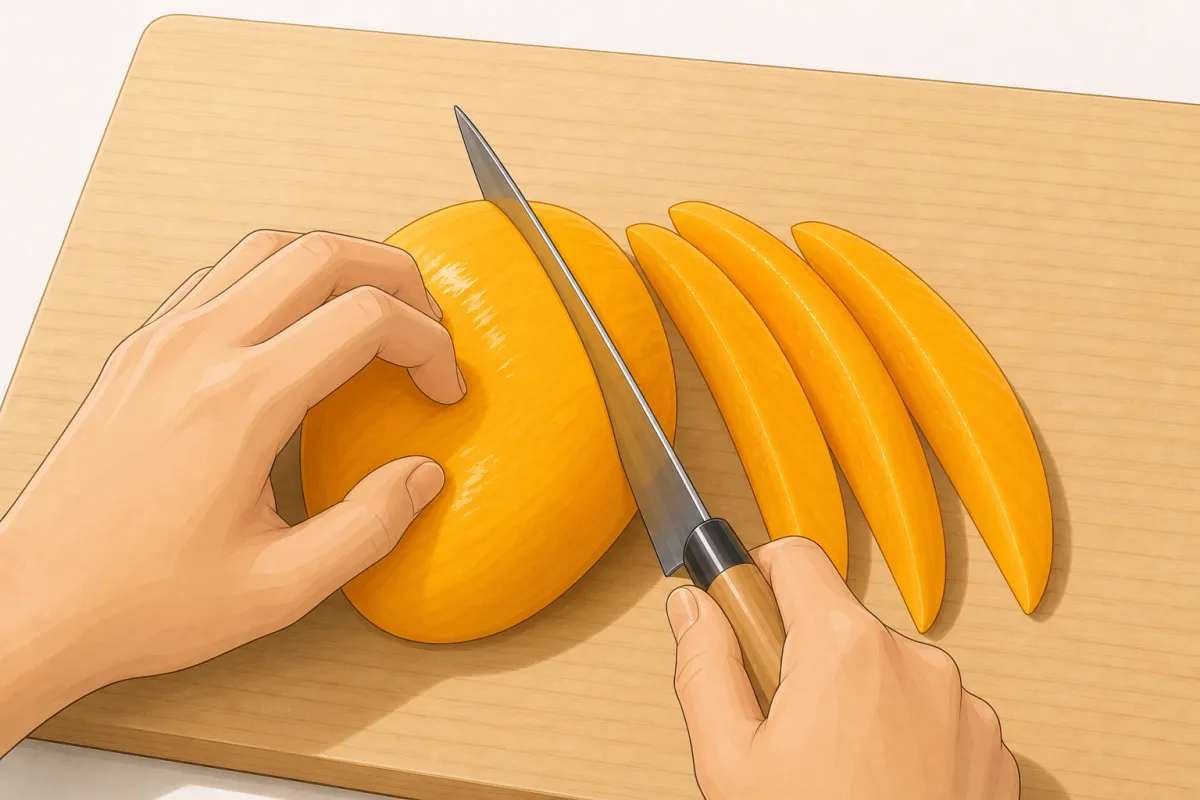
Slice each cheek lengthwise into long slices about 7 mm thick. 3Mango into long slices
~4 minFor this step
- Mango, ripe but firm½ mango
Peel the mango, cut the two cheeks off the stone, and slice each cheek lengthwise into long slices about 7 mm thick.

Should look like this 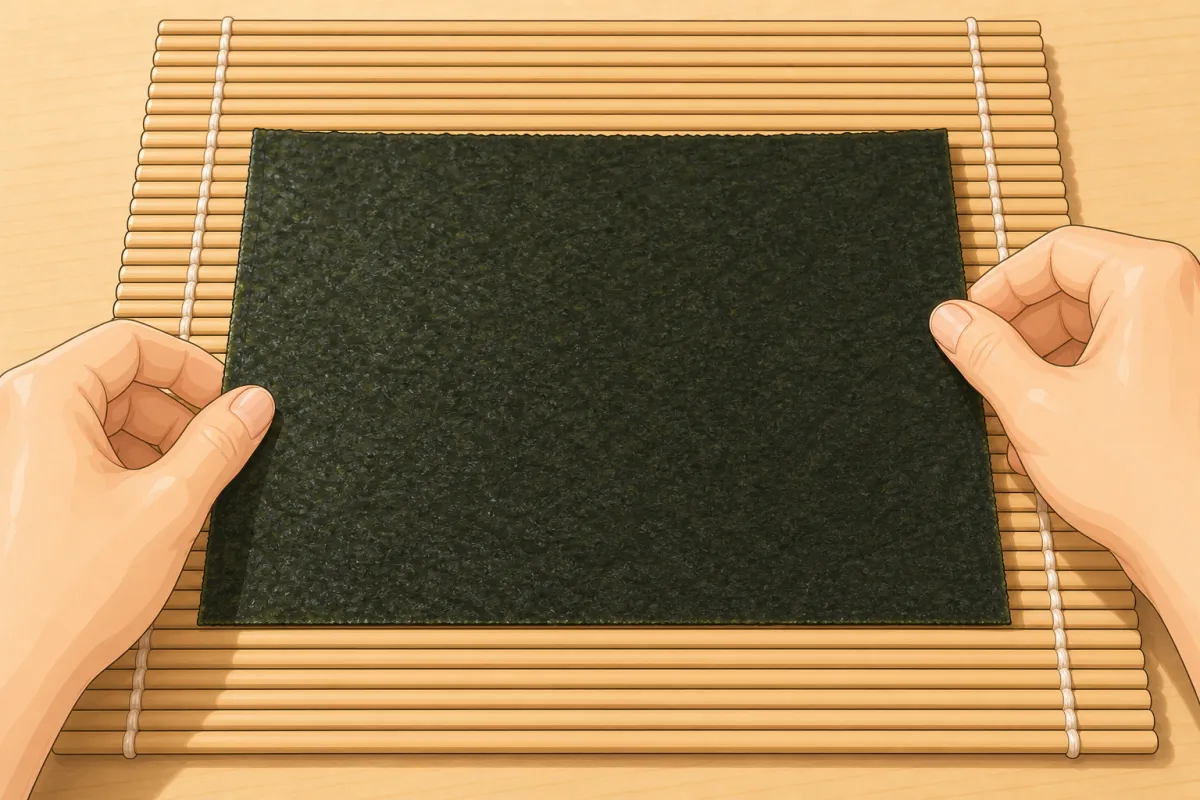
Whole nori, shiny side down, long side along the near edge, 3–4 slats showing. 4Set up the mat
1 minFor this step
- Nori2 whole sheets
- Bamboo mat with the slats running sideways.
- A whole sheet of nori on it, shiny side down, long side along the near edge of the mat, with 3–4 slats showing nearest you.

Should look like this 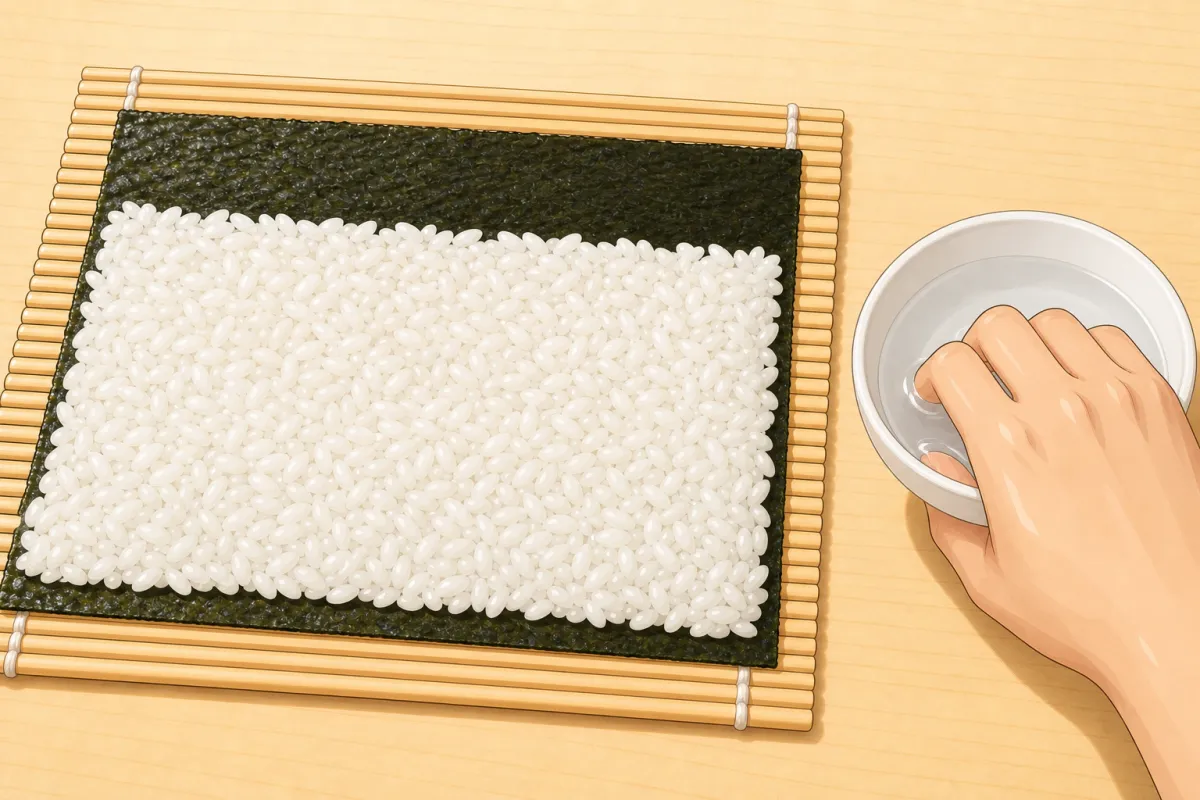
Wet your fingers in the tezu. 
Rice on left of centre, spread it right and out — an inch bare along the far edge. 5Spread the rice
~3 minFor this step
- Water (tezu)240 ml (1 cup)
- Rice vinegar (tezu)1 tbsp
- Sushi rice320 g
- Mix the tezu and wet your fingers in it.
- Put 160 g of rice on the nori, left of centre, and spread it to the right and out to the edges with your fingertips.
- Keep an inch (2.5 cm) of nori bare along the far edge — it seals the roll.
- Spread, don't press: the rice should stay airy.

Should look like this 
Tuna strips end to end across the middle of the rice. 
Mango slices right beside them, end to end. 
Pipe a thin line of spicy mayo along the filling. 6Fill
1 min- Lay tuna strips end to end across the middle of the rice, so they reach both ends — add a short piece at the end if one is too short.
- Lay mango slices right beside them, end to end.
- Pipe a thin line of spicy mayo along the filling.

Should look like this 
Fingertips hold the filling down; thumbs lift the near edge of the mat. 
In one movement, roll over the filling so the near edge lands on the far edge of the rice. 7Roll over the filling
20 s- Hold the filling down with your fingertips.
- Lift the near edge of the mat with your thumbs and, in one movement, roll the nori and rice over the filling so the near edge lands right on the far edge of the rice.
- The inch of bare nori is still showing.

Should look like this 
Leave the mat on and shape the roll with your fingers from outside it. 8Tighten through the mat
10 sLeave the mat over the roll and gently shape and tighten it with your fingers from outside the mat — round, or with square sides.
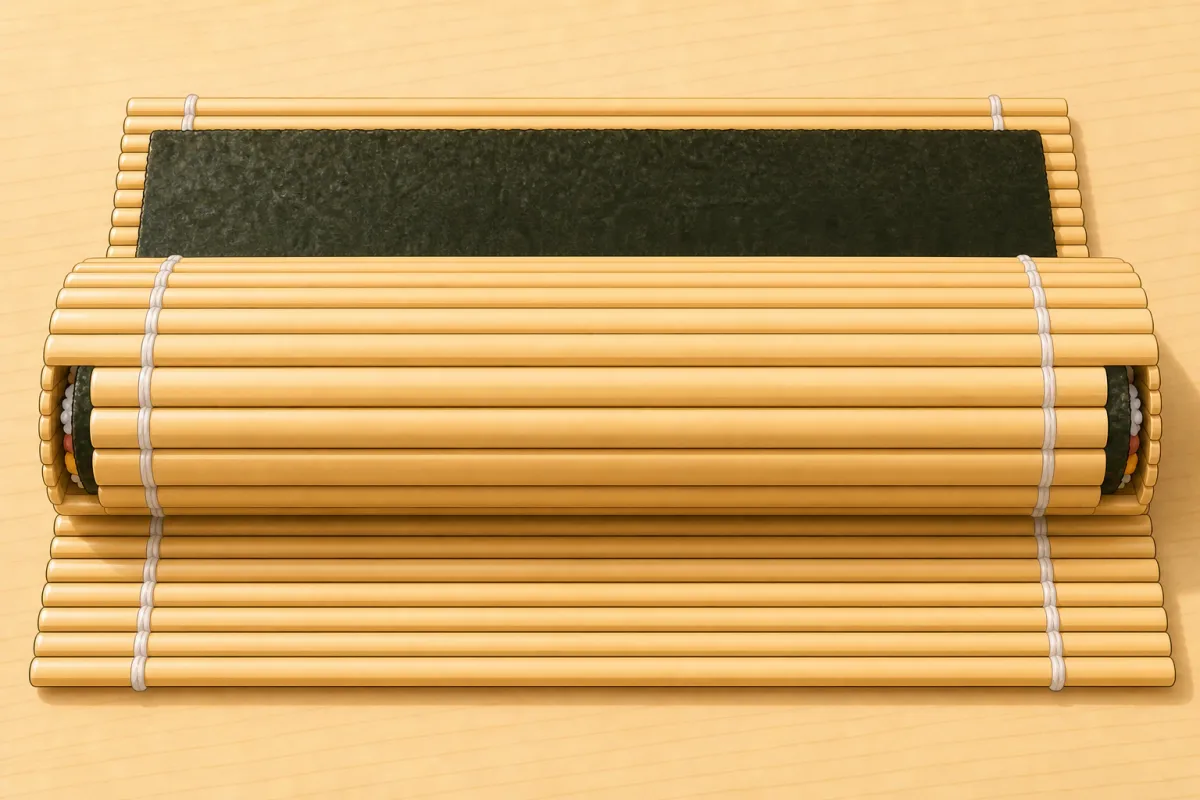
Should look like this 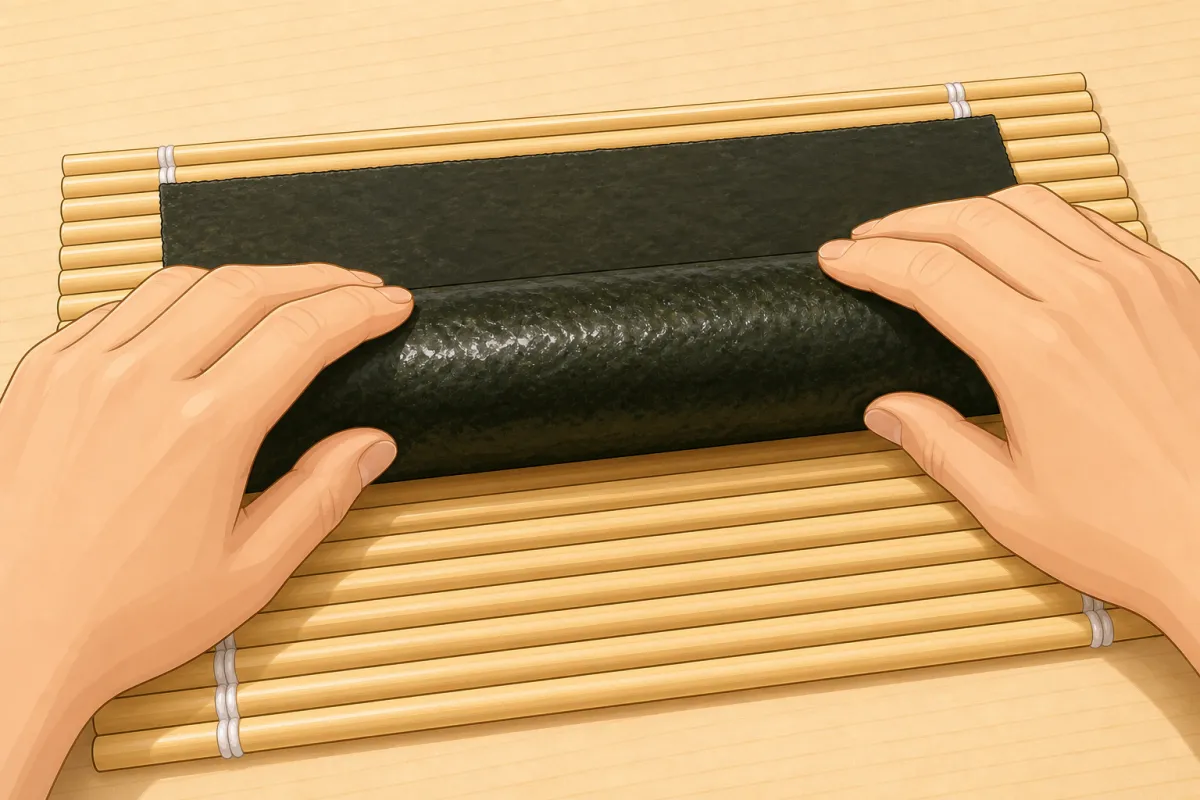
Lift the mat and turn the roll once so the bare strip seals it. 9Seal
20 s- Lift the mat and turn the roll once so the bare strip wraps over and seals it.
- Squeeze gently through the mat once more. Leave it seam side down and make the second roll.

Should look like this 
Wet the knife on a damp cloth. 
Push forward, then pull back — half, then quarters, then eighths. 10Cut into 8
~2 min- Wet the knife on a damp cloth.
- Cut the roll in half, each half in half, then each piece in half again — 8 pieces.
- Push the knife forward, then pull it back through the roll; wet it again between cuts.

Should look like this 
A small dot of spicy mayo on each piece. 11Serve
For this step
- Soy sauce and pickled ginger (gari)to taste
- A small dot of spicy mayo on each piece.
- Soy sauce and gari on the side; best eaten the same day.

Should look like this
Based on: Just One Cookbook — Sushi rolls (maki sushi, hosomaki) · Just One Cookbook — Spicy mayo