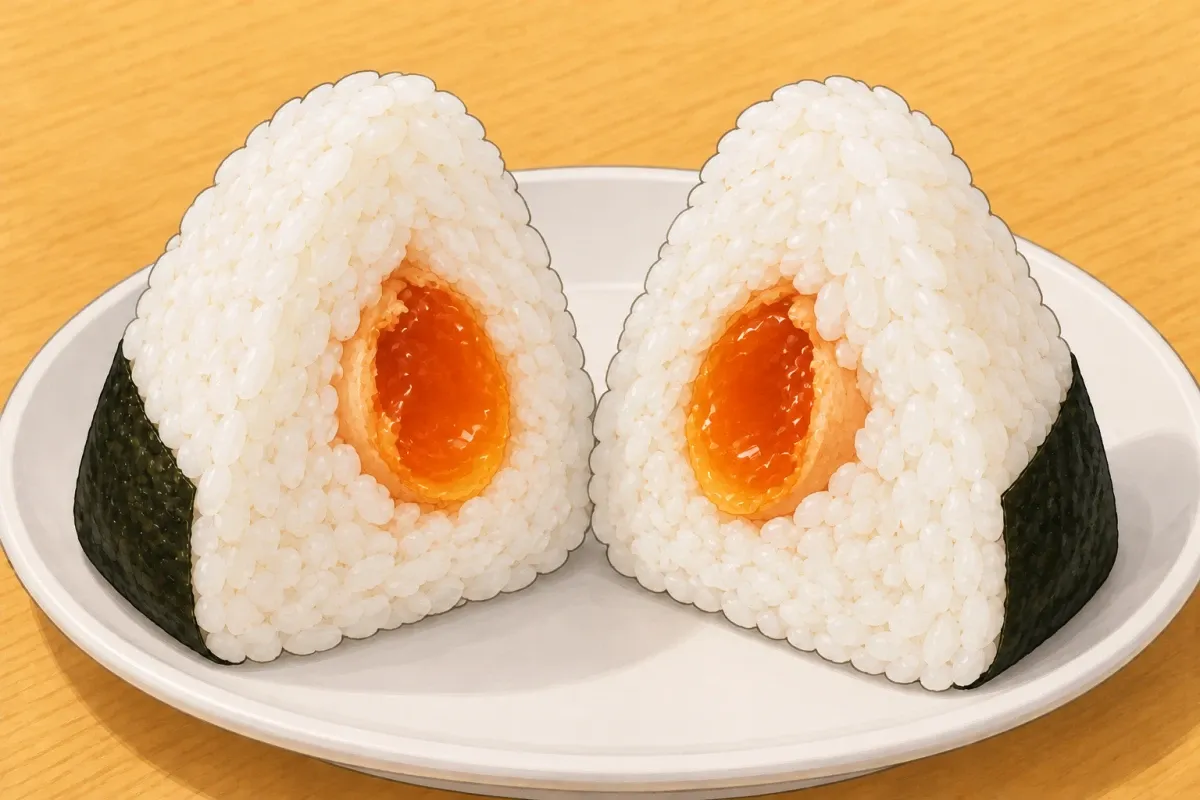
Soy-cured egg yolk (Bongo) onigiri
A home version inspired by the shop filling named above. The shops do not publish their recipes; these quantities are this site's own. This page makes one filling, then shapes and serves it. Start with plain cooked Japanese short-grain rice: rice cooking, hand shaping and all shop fillings →. The filling preparation time below excludes cooking the rice.
Step by step
Filling
1Soy-cure the egg yolks
24 hFor this step
- Very fresh egg yolks4
- Soy sauce (yolks)3 tbsp
- Mirin (yolks)1 tbsp
- The day before: separate the eggs and slip each yolk into a small dish, whole.
- Pour the soy sauce and mirin over, so the yolks are just covered. Cover and refrigerate 24 hours. They turn deep amber and firm up like soft jam.
- Use eggs sold for eating raw, or pasteurised ones. Keep the cured yolks cold and use them within two days.
Shape by hand
2Shape them shop style
~2 min eachFor this step
- Cooked rice, from the onigiri page480 g (120 g each)
- Kosher salt (for your hands)a little for each onigiri
- Have the cooked rice ready, covered, and cool it only until comfortable to hold. Wet your hands and rub a little salt over both palms.
- For each onigiri, put about 60 g rice in your palm, make a well and add one drained cured yolk. Cover with another 60 g rice and gently close it around the yolk without crushing it.
- Cup the rice from below with one hand. Bend the other hand into a roof, press gently to make a corner, turn a third of a turn and repeat. Keep it loose: press only enough to hold together.
Finish
3Wrap and serve
For this step
- Nori strips4
- Wrap one strip of nori around the base and up the sides just before serving. Eat within the hour while the nori is crisp. The sliced example shows the inside; cutting yours open is optional.
Based on: Hidden Japan Gems — Onigiri Bongo menu · MICHELIN Guide — Onigiri Asakusa Yadoroku · Asakusa Yadoroku (official) · Nigihaya, Kyoto (official, Japanese) · Togoshi-ya (official, Japanese)